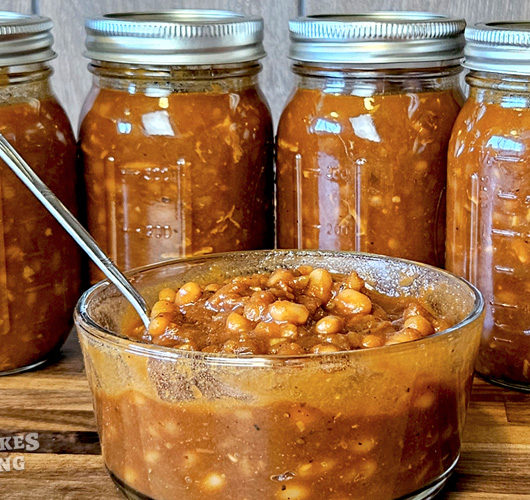
BBQ Baked Beans Canning Recipe
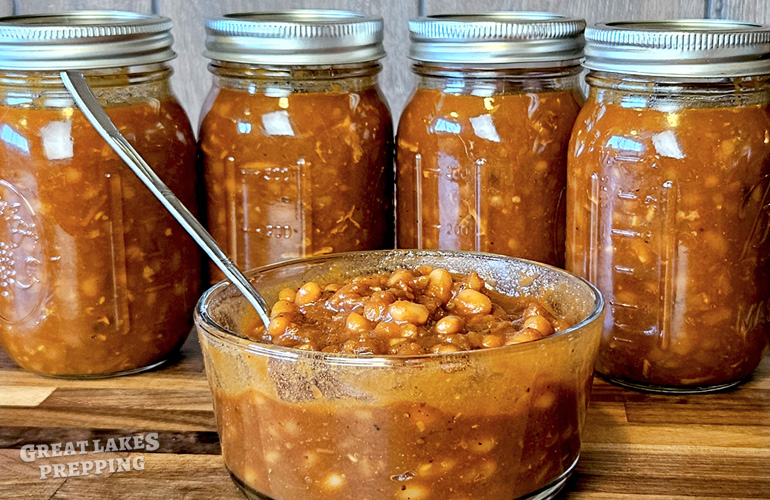
It’s canning time! Today I’m sharing the most delicious BBQ baked beans canning recipe that you will absolutely love. Sweet, savory, tangy sauce mixed with onions, bacon, and – of course – beans.
This recipe is my spin on the original baked beans canning recipe by Diane Devereaux (aka The Canning Diva), which you can see here!
BBQ Baked Beans Canning Recipe
Course: SidesCuisine: American, Southern, BBQDifficulty: MediumServings
4
PintsPrep time
25
minutesCooking time
1
hour45
minutesTotal time
2
hours10
minutesIngredients
1 lb Dry navy beans
10-12 oz Thick cut, uncured bacon
1 White or yellow onion, chopped
6 cloves Garlic, chopped
1 1/2 cups Chicken stock
6 oz Tomato paste
3/4 cup Brown sugar
1/2 cup Molasses
1/4 cup Apple cider vinegar
1/4 cup Barbecue sauce
1 Tablespoon Soy sauce
2 Tablespoons Dijon mustard
1 teaspoon Kosher salt
1/2 teaspoon Black pepper
1/2 teaspoon Cayenne pepper
Directions
- Inspect dry beans and remove any weird-looking beans (or anything else that isn’t beans, like tiny stones).
- Rinse the beans in cold water. Then drain the water and put the beans in a medium-sized saucepan with enough fresh water to cover them by an inch or two. Boil the water for 5 minutes, before reducing to a low simmer. Simmer with a lid on the pan for 30 minutes.
- Prepare the sauce by combining the chicken stock, brown sugar, molasses, tomato paste, BBQ sauce, vinegar, soy sauce, Dijon mustard, salt, black pepper, and cayenne pepper in a bowl. Whisk very thoroughly together.
- Cut the bacon strips into 1-inch pieces. Then fry in a Dutch oven or very large skillet until just before crispy. Remove the bacon from the pan, leaving behind the bacon grease.
- Saute the onions in the bacon grease over medium-high heat for a couple minutes. Then add the minced garlic and cook another minute or two.
- When the beans are done simmering, strain the water out of them. Add the drained beans to the cooked onions and garlic. Then pour all of the sauce over top. Make sure you have a skillet or Dutch oven large enough for everything. Stir everything together very well, and bring up to a simmer. Let simmer for 3-5 minutes, and then turn off the heat.
- Begin filling your pint jars first with mainly solids from the baked beans. Once the jar is nearly filled, pour over some of the liquid/sauce to top off the jar – leaving 1 inch of headspace in each jar.
- Double-check the headspace on each jar, and then de-bubble. Thoroughly wipe the jar rims with a damp paper towel until no more residue is visible. Place the lids on, and screw down the rings finger-tight.
- Prepare your pressure-canner as required by its directions. Mine requires 3 quarts of water to be placed in the canner. Load the canner with your jars, and put on the canner lid.
- Turn on the heat, and (per the directions for your canner) go through the venting procedure. Once vented, use your dial/gauge or weighted topper to achieve 10 pounds of pressure. Set a timer and process for 75 minutes.
- Once processing is done, turn off the heat and allow all the pressure to come down before attempting to remove the canner lid. This takes 5-10 minutes for my canner. Remove the lid and wait another 5 minutes before transferring the jars over to a towel-lined countertop using a jar lifter tool. Leave the jars alone until room temperature – this will take several hours. If any of the jars did not seal properly, put that jar in the fridge and eat it within a week.
Previous Article